Note: Use this
procedure only if you don’t want to use standalone web dispatcher or any DNS
tools for load balancing of your ABAP systems.
1.
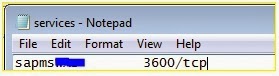
Make below entry in services file in the PCs in
which you want to have logon load balancing to login to
the system.
Sapms<SID><one tab
space> 36<Central Instance
Instance number>/tcp
Eg:
If my SAP system SID is SAT and the Central instance number is “00” then
the entry should look like below:
sapmsSAT 3600/tcp
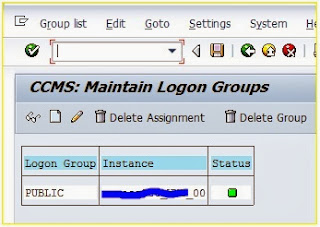
2.
Define Logon group in tcode: SMLG:
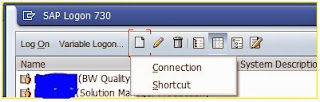
3.
Open SAP GUI and Click on New button. It will show two options (Connection,
Shortcut) as below. Please select
“Connection”
4.
Once you select “connection” in above screen,
you will get below pop-up. In this,
click “Next” button.
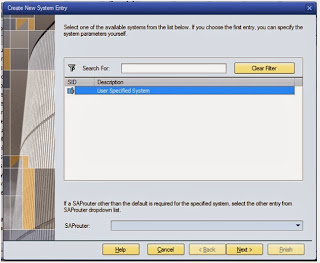
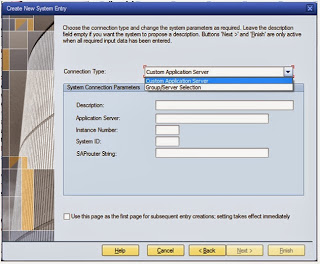
5.
Now in next screen, select “Group/Server
Selection”.
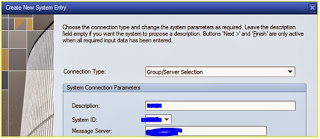
6.
After you select “Group/Server Selection” enter the
details as below:
a.
Description:
Enter description as you like
b.
System
ID: SAT
c.
Message
Server: Hostname( After you type Hostname, please press tab on your keyboard two times)
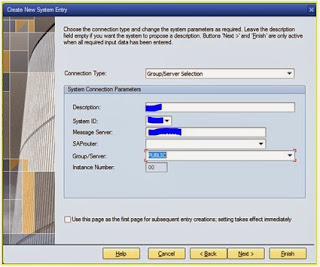
7.
Once you enter the details as described in step
4 and press tab two times, Group/Server field will automatically pop-up with
the group name, i.e., PUBLIC.
Note:
Make sure you see the PUBLIC is selected for the field “Group/Server”
8.
Once you complete above steps, click on
Finish. It will create the logon entry
in your SAP GUI Logon pad.

This Article is very interesting thank you very much for the information .really a nice article and i was really impressed .
ReplyDelete